Back when I wrote Final Flight of the Perseus for mobile devices (rest in peace, my poor abandoned game) I added a bloom effect to some of the enemy boss attacks. That ancient phone hardware didn’t have HDR texture support, so I did a multipass method, where I would draw the entire scene to one render target, and then just the elements I wanted bloom applied on to another. It worked well enough, but I figured it was time to revisit the topic.
Looking into how bloom is done now, almost every article and video point back to the same talk from Siggraph 2014 by Jorge Jimenez. The powerpoint slides are available, and there’s a lot of good stuff in there. Since I’ve never really done much in 3D, some of it doesn’t apply to what I’m learning (yet!) but it’s worth looking at.
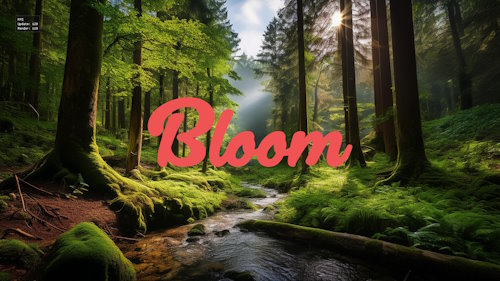
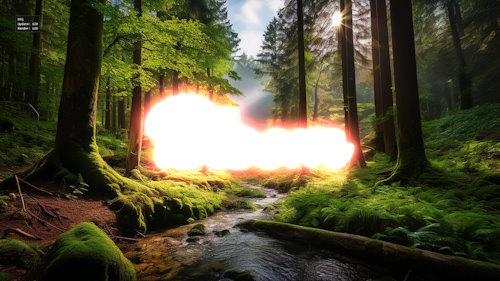
Jorge’s method gets rid of the threshold based extraction step, but my little 2D test scenes with prerendered backgrounds it looked pretty bad, so I left it in. It’s probable that I’m missing something, though. For this experiment, here is my test scene.
This is just a prerendered background image, with a simple font in red on top. Nothing about this is in high dynamic range yet, and if I’m going to use HDR brightness as a threshold for my bloom effect, I’d need to fix that. So I rendered the same scene, but with a shader that multiplied the color of the font by three. Taking the mostly red font from color (.9, .33, .33) to something like (2.7, 1.0, 1.0). It’s still predominantly red, but when viewed on a standard display, it’s going to look white.
Taking this HDR scene in as input (pretending it’s some sort of real lit scene in a game) we can start adding the effect. My first pass is the previously mentioned threshold pass, just grabbing anything that’s over a luminance level of 1.0.
As you can see, it just looks like a white image here. In fact, that’s actually all it was for awhile. It took some debugging in RenderDoc to realize that I had misconfigured both my HDR textures and my thresholding shader. Oops! With those corrected, I started the downsampling steps, where you can definitely see red popping out around the edges.
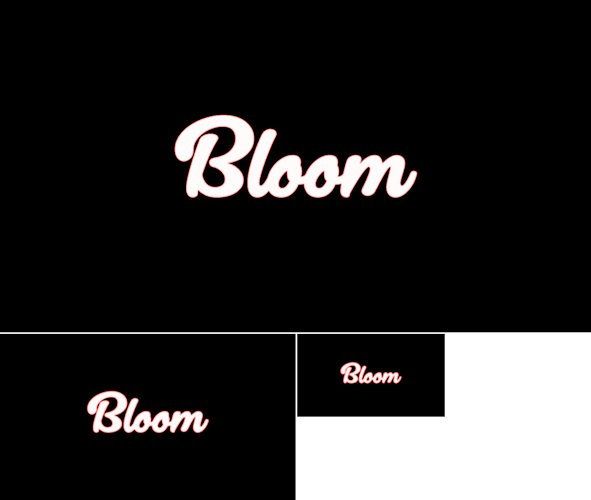
The final step is to upsample the smaller images while applying a Gaussian blur. I don’t have any cool screenshots of that. I ended up doing a bunch of downsampled levels, and the result was very impressive. But maybe a bit too aggressive. I could probably solve this by using a smaller blur radius, but I went with fewer downsampling steps.
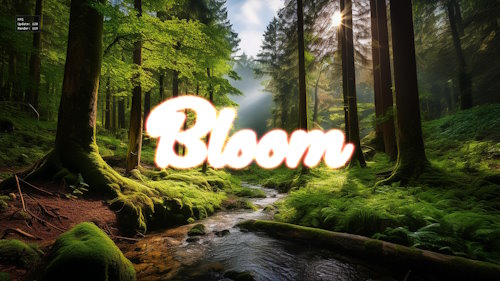
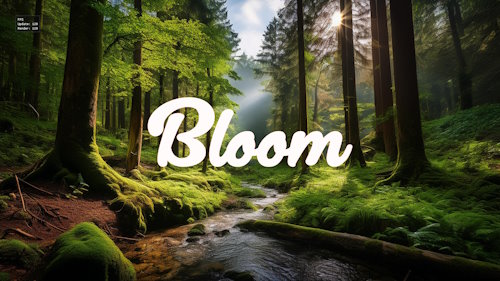
Somewhere between 3-4 levels probably looks the best to me (see the top image), but there’s infinite room for tweaking here. Here are all of the versions. 1 2 3 4 5 6
This was a lot of fun, and required me to upgrade my little test framework’s texture and shader capabilities. When looking into shaders I got distracted reading about how raymarching works, and it’s super neat. But that’ll be the subject of a future adventure. (Someday.)
